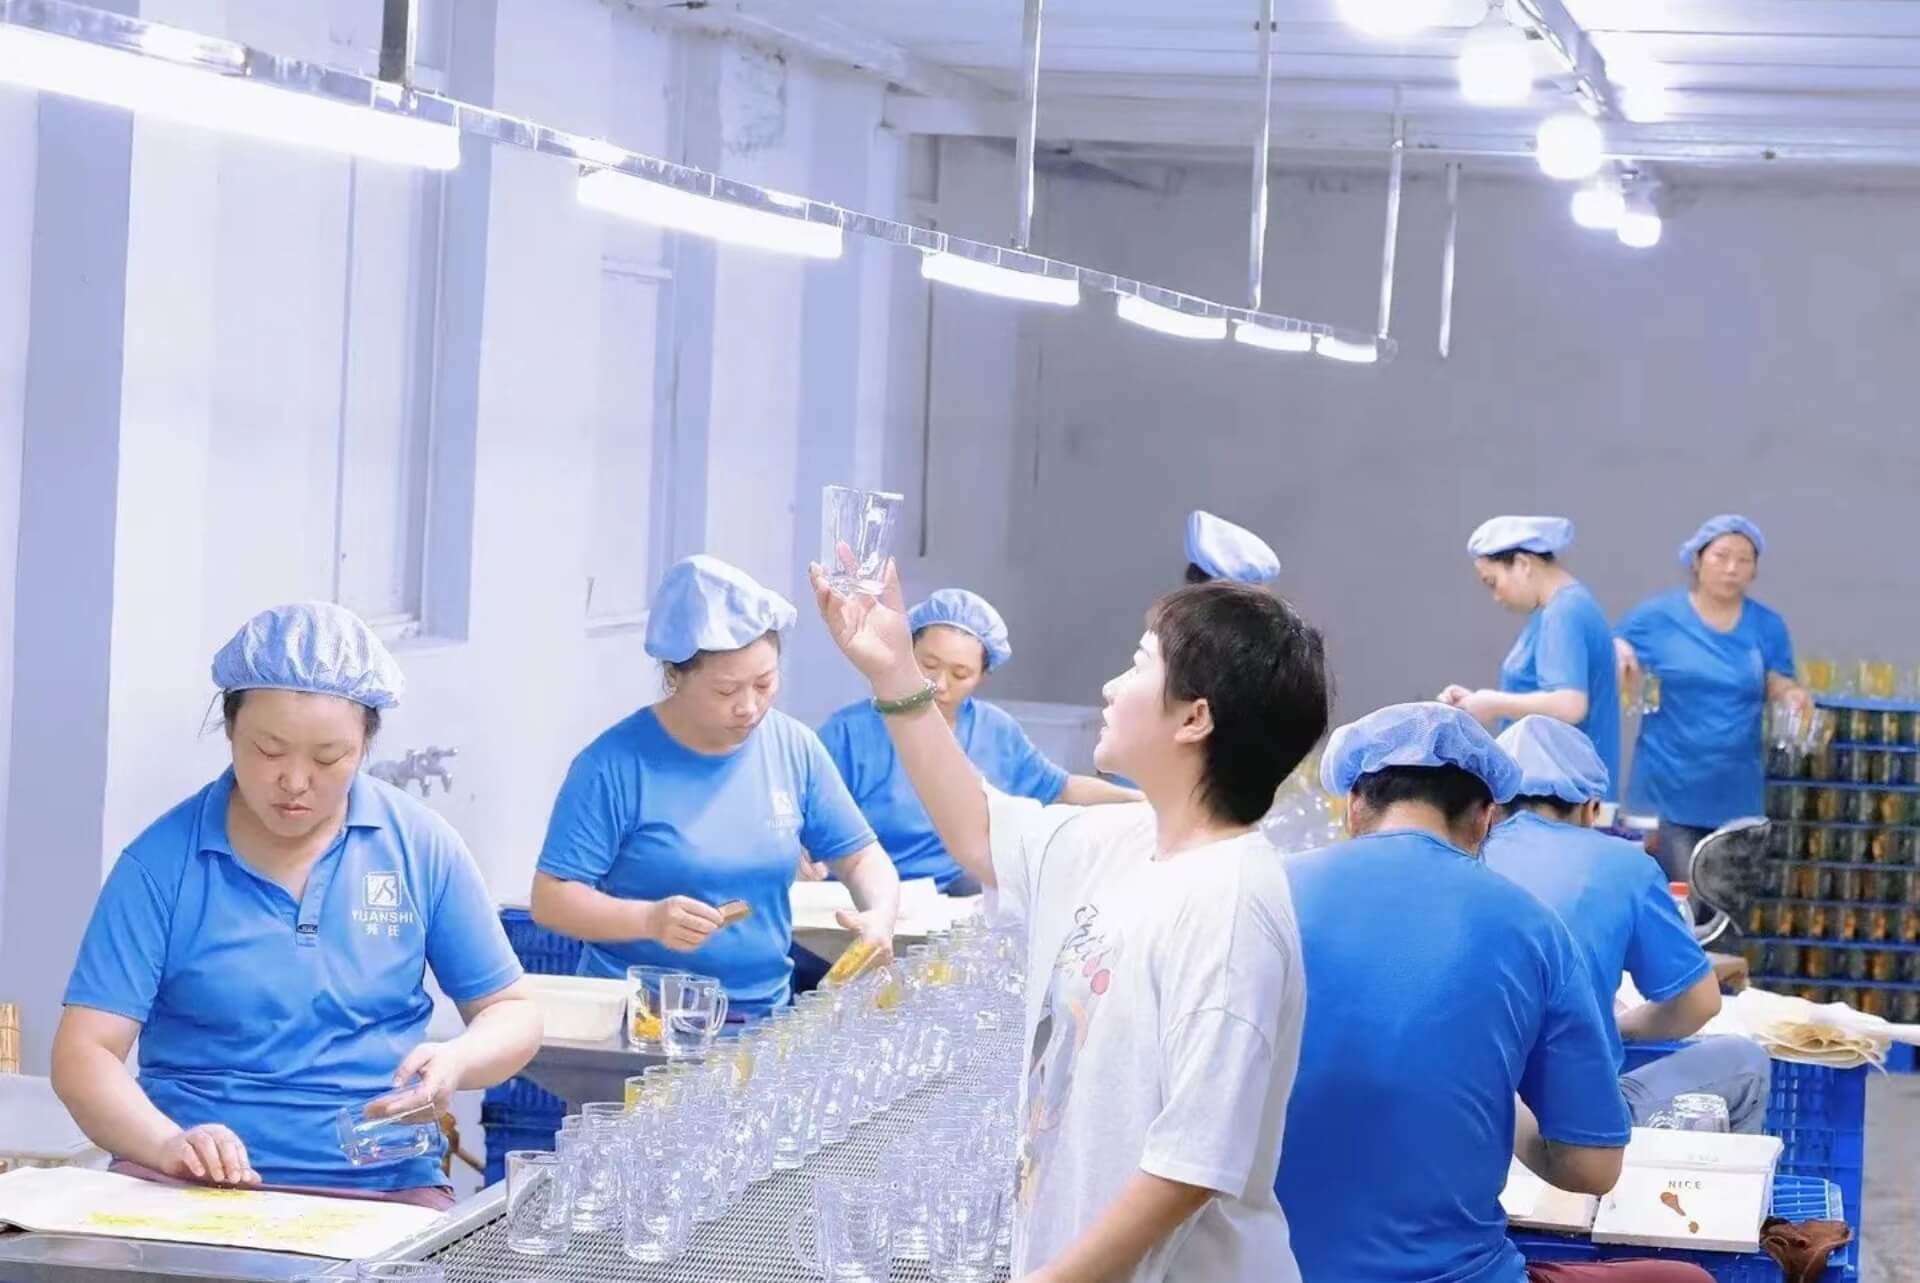
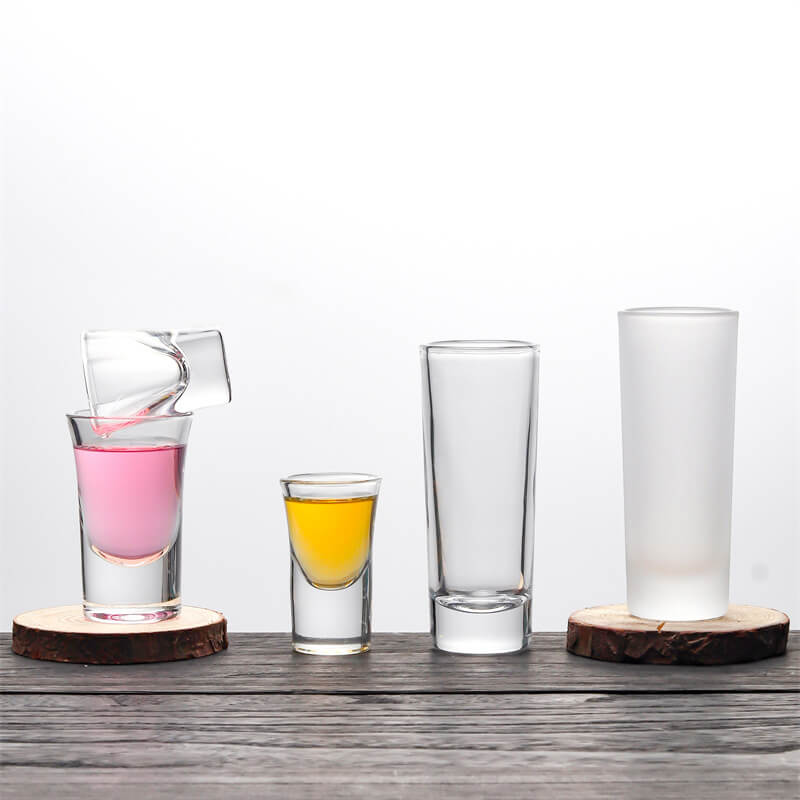
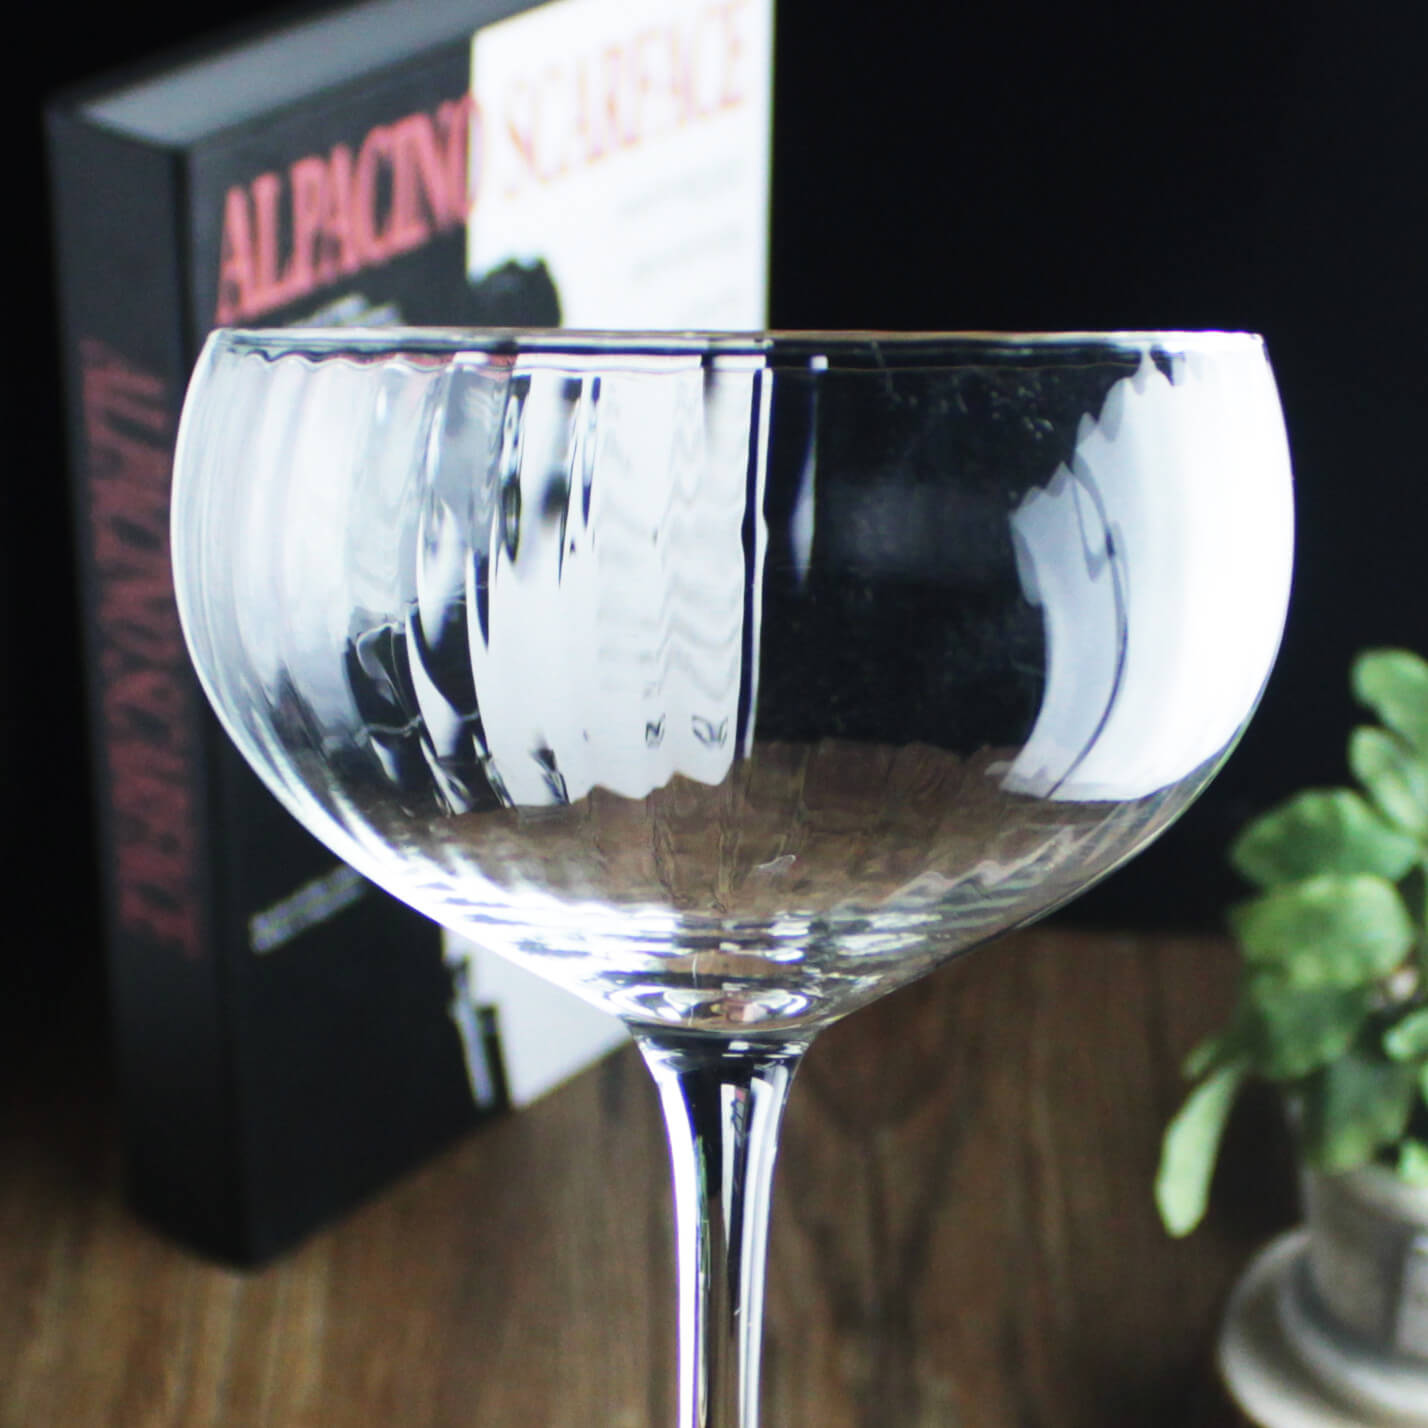
What do you know about glassware defects? And what are the inspection standards for glassware? Below is the answer to clear your doubts. And it will helps you to buy glassware easily from China
Glassware Defects And Inspection Standards
1. Introduction
- 1.1 This standard specifies the technical requirements, test methods, markings, packaging, transportation, storage, and inspection rules for Lida Glassware‘s products.
- 1.2 For matters not covered by this standard, refer to the glass cup standard QB/T4162-2011.
2. Product Defects and Inspection Item Definitions
2.1 Product Defects
| Category | Serial No. | Inspection Item | Defect Description and Inspection Requirements | Inspection Tool | Defect Classification |
|---|---|---|---|---|---|
| Product Defects | 2.1.01 | Bubbles | Bubbles with broken skin should not exist. Bubbles that can be burst by pressing with a fingernail or a large pin should not exist. Bubbles with a diameter <0.8mm, no more than 3 within a 20mm×20mm range, spaced more than 50mm apart, and no more than 5 on each product, must be sealed when necessary. For gas inclusions that are round or elliptical with a diameter ≥0.8mm, see the table below. | Visual inspection, Caliper, Magnifying glass | Major/Minor |
| 2.1.02 | Stone | Opaque inclusions in the glass that are unmelted or difficult to melt. Stones that protrude from the surface and are sharp enough to scratch a fingernail should not exist. Stones with cracks all around should not exist. For stones embedded or embedded in the glass, see the table below. | Visual inspection, Caliper, Magnifying glass | Major | |
| 2.1.03 | Nodule | Transparent nodular substances present in the glass. | Visual inspection, Caliper | Minor | |
| 2.1.04 | Stripes | Fine stripes with a refractive index different from the surrounding glass, caused by glass non-uniformity. Obvious, multi-knotted, and rope-like stripes should not exist; others can be sealed. | Visual inspection | Minor | |
| 2.1.05 | Cracks | A type of crack that extends and can penetrate the product’s thickness should not exist. Under the inspection light, bright spots from cracks should not be visible. | Visual inspection | Major | |
| 2.1.06 | Scratches | Linear abrasions formed on the glass surface by forcefully scratching with a sharp object. Under the inspection light, glowing scratches should not be visible. | Visual inspection | Major | |
| 2.1.07 | Abrasions | A shallow abrasion on the glass surface caused by friction between glasses, appearing white. It does not glow when visually inspected under light. Main Surface: Abrasions should not exist. Other Surfaces: Abrasions with a width not exceeding 1mm and a length ≤5mm are allowed to have 1. Bottom: Abrasions with a width not exceeding 1mm and a length ≤8mm are allowed to have 1. | Visual inspection | Minor | |
| 2.1.08 | Dents | Abrasions formed on the glass surface due to impact. If it doesn’t glow, it’s considered an abrasion; if it glows, it’s considered a crack. | Visual inspection | Minor | |
| 2.1.09 | Stuck Glass | Glass particles adhered to the glass surface that cannot be removed and do not cause peeling or cracks on the glass surface. There should be no stuck glass on the external surface of the product. Stuck glass on the internal surface of the product that can be removed and does not cause cracks can exist, and sealing may be necessary. | Visual inspection | Minor |
| Category | Serial No. | Inspection Item | Defect Description and Inspection Requirements | Inspection Tool | Defect Classification |
|---|---|---|---|---|---|
| 2.1.10 | Foreign Matter | Colored impurities that enter the glass from the molding equipment should not exist. | Visual inspection | Major | |
| 2.1.11 | Contaminants | Foreign substances present on the inner and outer surfaces of the glass that can be cleaned or removed. Examples include: annealing furnace marks caused by friction with the annealing plate belt, material marks left on the glass surface due to contact with clamps or gloves that cannot be removed and appear white or gray, oil marks formed on the glass surface due to oiling on the molding equipment, white frost formed on the glass surface after secondary heating of the glass, oxygen contamination should not exist, and glass shards that cannot be removed should not exist. | Visual inspection | Minor | |
| 2.1.12 | Uneven Bottom | When the product is placed on a flat surface and pressed down from the top, a 0.5mm gauge should not be able to fit underneath. | Visual inspection | Minor | |
| 2.1.13 | Mouth | There should be no severe misalignment, numbness, deformation, or asymmetry in the mouth. Sealing may be necessary when required. | Visual inspection | Minor | |
| 2.1.14 | Rim | Uneven rim: Due to the defect of the explosion mouth, the height difference of the rim should not exceed 1mm. See sealing sample. Rim defects: The rim should not scratch the hand, and defects like adhered glass filaments should not exist. Minor glass droplets should not be larger than 0.5mm, generally located at the mouth, and for products with special requirements, they can be placed in the position required by the drawing. Rim thickness: It should not affect the installation of the handle due to exceeding the standard. | Height gauge, Visual inspection | Minor | |
| 2.1.15 | Mold Mark | Circular stripes formed on the product surface due to defects on the mold surface or the mold protective layer. Mold marks that can be felt should not exist. Minor ones can exist, and sealing may be necessary when required. | Visual inspection | Minor | |
| 2.1.16 | Steam Burst Mark | Irregular depressions formed on the glass surface because steam couldn’t be expelled from the mold. See sealing sample. | Visual inspection | Minor | |
| 2.1.17 | Clamp Mark | Silky substances or grooves formed on the glass surface because the material shape was too long or too large. See sealing sample. | Visual inspection | Minor | |
| 2.1.18 | Scissor Mark | Marks formed on the glass surface due to the cold effect of cutting. See sealing sample. | Visual inspection | Minor | |
| 2.1.19 | Insufficient Blowing | Deformations caused by insufficient blowing or design defects should not exist. | Visual inspection | Minor | |
| 2.1.20 | Process Defect | The product meets all textual standards but has obvious quality issues. | Visual inspection | Minor | |
| 2.1.21 | There should be no smudging or bleeding, and it should meet the glaze durability test. | Visual inspection | Minor |
2.2 Dimensions
| Serial No. | Inspection Item | Defect Description and Inspection Requirements | Inspection Tool | Defect Classification |
|---|---|---|---|---|
| 2.2.01 | Total Height | The product’s dimensions should meet the drawing requirements. See product drawing. | Height gauge | |
| 2.2.02 | Body Outer Diameter | The product’s dimensions should meet the drawing requirements. See product drawing. | Caliper | Major |
| 2.2.03 | Cup Diameter | The product’s dimensions should meet the drawing requirements. See product drawing. | Caliper | |
| 2.2.04 | Wall Thickness | The product’s dimensions should meet the drawing requirements. See product drawing (the thinnest part of the product should be ≥0.8mm). | Thickness gauge | |
| 2.2.05 | Mouth Size | The product’s dimensions should meet the drawing requirements. See product drawing. | Caliper, etc. | |
| 2.2.06 | Other Dimensions | The product’s dimensions should meet the drawing requirements. See product drawing. | Caliper, etc. |
2.3 Product Performance
| Serial No. | Inspection Item | Defect Description and Inspection Requirements | Inspection Tool | Defect Classification |
|---|---|---|---|---|
| 2.3.01 | Heat Shock Resistance | Place the glass cup in an oven and heat to 170℃ and maintain for 30 minutes; then place it in 20℃ water. If the product shows cracks or breaks, it’s considered non-compliant. (Temperature difference ≥150℃) | Oven | Major |
| 2.3.02 | Pouring Test | Fill the container with tap water and tilt it 45° to pour the water continuously from the mouth. The water must flow out in a columnar shape, not allowed to flow outside the mouth’s width, and not allowed to flow to the product’s external surface or bottom. | Glass cup | Major |
| 2.3.03 | Annealing Stress | After annealing, the residual stress in the product should be ≤180nm/cm. | Stress meter | Major |
| 2.3.04 | Print Durability Test | For annealed products, stick 3M tape to the print, and after removing the tape, the print should not come off. | Tape | Major |
| 2.3.05 | Mechanical Impact Test | Place the product with its mouth down on a flat surface, drop a 35g steel ball from a height of 500mm above the product’s bottom. If the product doesn’t break, it’s considered compliant. | Steel ball | Minor |
3. Marking, Packaging, Transportation, Storage
- 3.1 Marking
- 3.1.1 Each set of products or its packaging should have a clear mark. For details, refer to the standard sample.
- 3.1.2 Transport packaging should be marked according to customer requirements, including company name, item number, grade, quantity, packaging box dimensions, volume, weight, packing date, moisture-proof, handle with care, and no inversion signs, etc.
- 3.2 Packaging
- 3.2.1 Packaging methods and packaging materials should follow other relevant requirements of Hengfu (including related documents and packaging samples).
- 3.3 Transportation
- 3.3.1 During transportation, avoid moisture, rain, and severe vibrations.
- 3.3.2 Handle with care during transportation, do not sit or step on the products, do not invert, and strictly prohibit throwing.
- 3.4 Storage
- 3.4.1 The storage place should be dry and ventilated, free from rain or snow, and prevent moisture.
- 3.4.2 The stacking height should not exceed 3000mm, and avoid mixing with chemicals during storage.
4. Inspection Rules
- 4.1 Finished Product Inspection
- 4.1.1 Products must undergo batch-by-batch inspection and can only be shipped after passing the inspection. The sampling plan for factory inspection should comply with the provisions of GB2828, or the supply parties can set another sampling plan.
- 4.1.2 The items, types, inspection levels, and AQL values for finished product sampling inspection should not be lower than the provisions of the following table.
| Serial No. | Inspection Item | Sampling Plan Type | Inspection Level | AQL |
|---|---|---|---|---|
| 1 | Minor Defects | Single Sampling | II | 4.0 |
| 2 | Major Defects | Single Sampling | II | 1.0 |
| 3 | Dimensions, Performance | 3~5pcs | 3~5pcs | 0 |
| 4 | Packaging, Storage & Transportation | — | — | — |
- 4.1.3 Batches that fail the inspection should be rectified by the production department and then re-inspected.
- 4.2 Type Inspection
- 4.2.1 Type inspection should be conducted when there are significant changes in design, raw materials, or production technical conditions. Type inspection should also be conducted after a certain production period or after reaching a certain production volume.
- 4.2.2 During type inspection, at least two products should be randomly selected from the initial batch of products as samples. All parts and assemblies should be inspected item by item, and all items should pass to be considered compliant.
Conclusion
The provided document outlines the comprehensive quality standards and inspection criteria for glass cup products. It meticulously details the technical requirements, testing methods, marking, packaging, transportation, storage, and inspection rules. The standards emphasize both the visual and functional aspects of the product, ensuring that each glass cup not only meets aesthetic standards but also performs reliably under various conditions.
The inclusion of specific inspection tools and defect classifications further ensures the precision and consistency of the quality checks. By adhering to these guidelines, manufacturers can ensure the production of high-quality glassware that meets the expectations of both the company and its customers.


